

Building a frontend with authentication using React, Amplify and Cognito


Starting AWS can be quite challenging for a developer as you need to learn which service is the most appropriate for your use case. This article will help especially frontend developers who want to take advantage of what AWS offers and significantly reduce time to add new features to their application.
We will be going through building a simple web application using React, a popular JavaScript framework and adding user authentication using AWS Amplify and Amazon Cognito. Let us get started for quite a fun journey.
What is AWS Amplify?
AWS Amplify is a set of purpose-built tools and features that lets frontend web and mobile developers quickly and easily build full-stack applications on AWS, with the flexibility to leverage the breadth of AWS services as your use cases evolve. With Amplify, you can configure a web or mobile app backend, connect your app in minutes, visually build a web frontend UI, and easily manage app content outside the AWS console.
Benefits of Amplify
- Very easy to use
- Scale faster and bigger
- Ship products faster
- Access to more than 175 AWS services
AWS Cognito AWS Cognito is a user management tool that allows user sign-in, sign-out and controls access to a website or mobile application. It manages user authentication, authorization and access to web applications and mobile applications.
Why Amazon Cognito
- Scales for miilions of user
- Controls access to AWS resources
- Security for apps
- supports sign-in with social identity providers, such as Apple, Facebook, Google, and Amazon, and enterprise identity providers via SAML 2.0 and OpenID Connect.
Creating a react-app with basic auth using AWS Amplify and Cognito
Required: Ensure to install node to run all the react commands. Also install and configure the Amplify CLI on your workstation before continuing with the tutorial
We will be building a simple web application with authentication. First, create a new React app using the create-react-app command.
npx create-react-app simple-auth-app
cd simple-auth-app
Add the Amplify libraries needed
yarn add @aws-amplify/ui-react aws-amplify
Doing this will allow us to be able to access the functions and components needed for the authentication to work
Initialize Amplify in the project root directory to add necessary Amplify configuration files in the direction. Follow the necessary configuration
simple-auth-app git:(master) amplify init
Note: It is recommended to run this command from the root of your app directory
? Enter a name for the project simpleauthapp
The following configuration will be applied:

Project information
| Name: simpleauthapp
| Environment: dev
| Default editor: Visual Studio Code
| App type: javascript
| Javascript framework: react
| Source Directory Path: src
| Distribution Directory Path: build
| Build Command: npm run-script build
| Start Command: npm run-script start

? Initialize the project with the above configuration? Yes
Once this is done, add the authentication by running amplify add auth. Follow the steps.
simple-auth-app git:(master) ✗ amplify add auth
Using service: Cognito, provided by: awscloudformation

 The current configured provider is Amazon Cognito.

 Do you want to use the default authentication and security configuration? Default configuration
 Warning: you will not be able to edit these selections.
 How do you want users to be able to sign in? Email
 Do you want to configure advanced settings? No, I am done.
✅ Successfully added auth resource simpleauthapp283c18e1 locally
To deploy the authentication provider already set, run
amplify push
which will provision all the added resources in the cloud and make it available for usage by the application by creating new files in the project directory
Building the authentication page In the App.js file, replace the content with the code below
import { Amplify } from 'aws-amplify';

import { Authenticator } from '@aws-amplify/ui-react';
import '@aws-amplify/ui-react/styles.css';

import awsExports from './aws-exports';
Amplify.configure(awsExports);

export default function App() {
 return (
   <Authenticator>
     {({ signOut, user }) => (
       <main>
         <h1>Hello {user.username}</h1>
         <button onClick={signOut}>Sign out</button>
       </main>
     )}
   </Authenticator>
 );
}
Save the file and go to the terminal. Run
npm start
which brings up a development server.
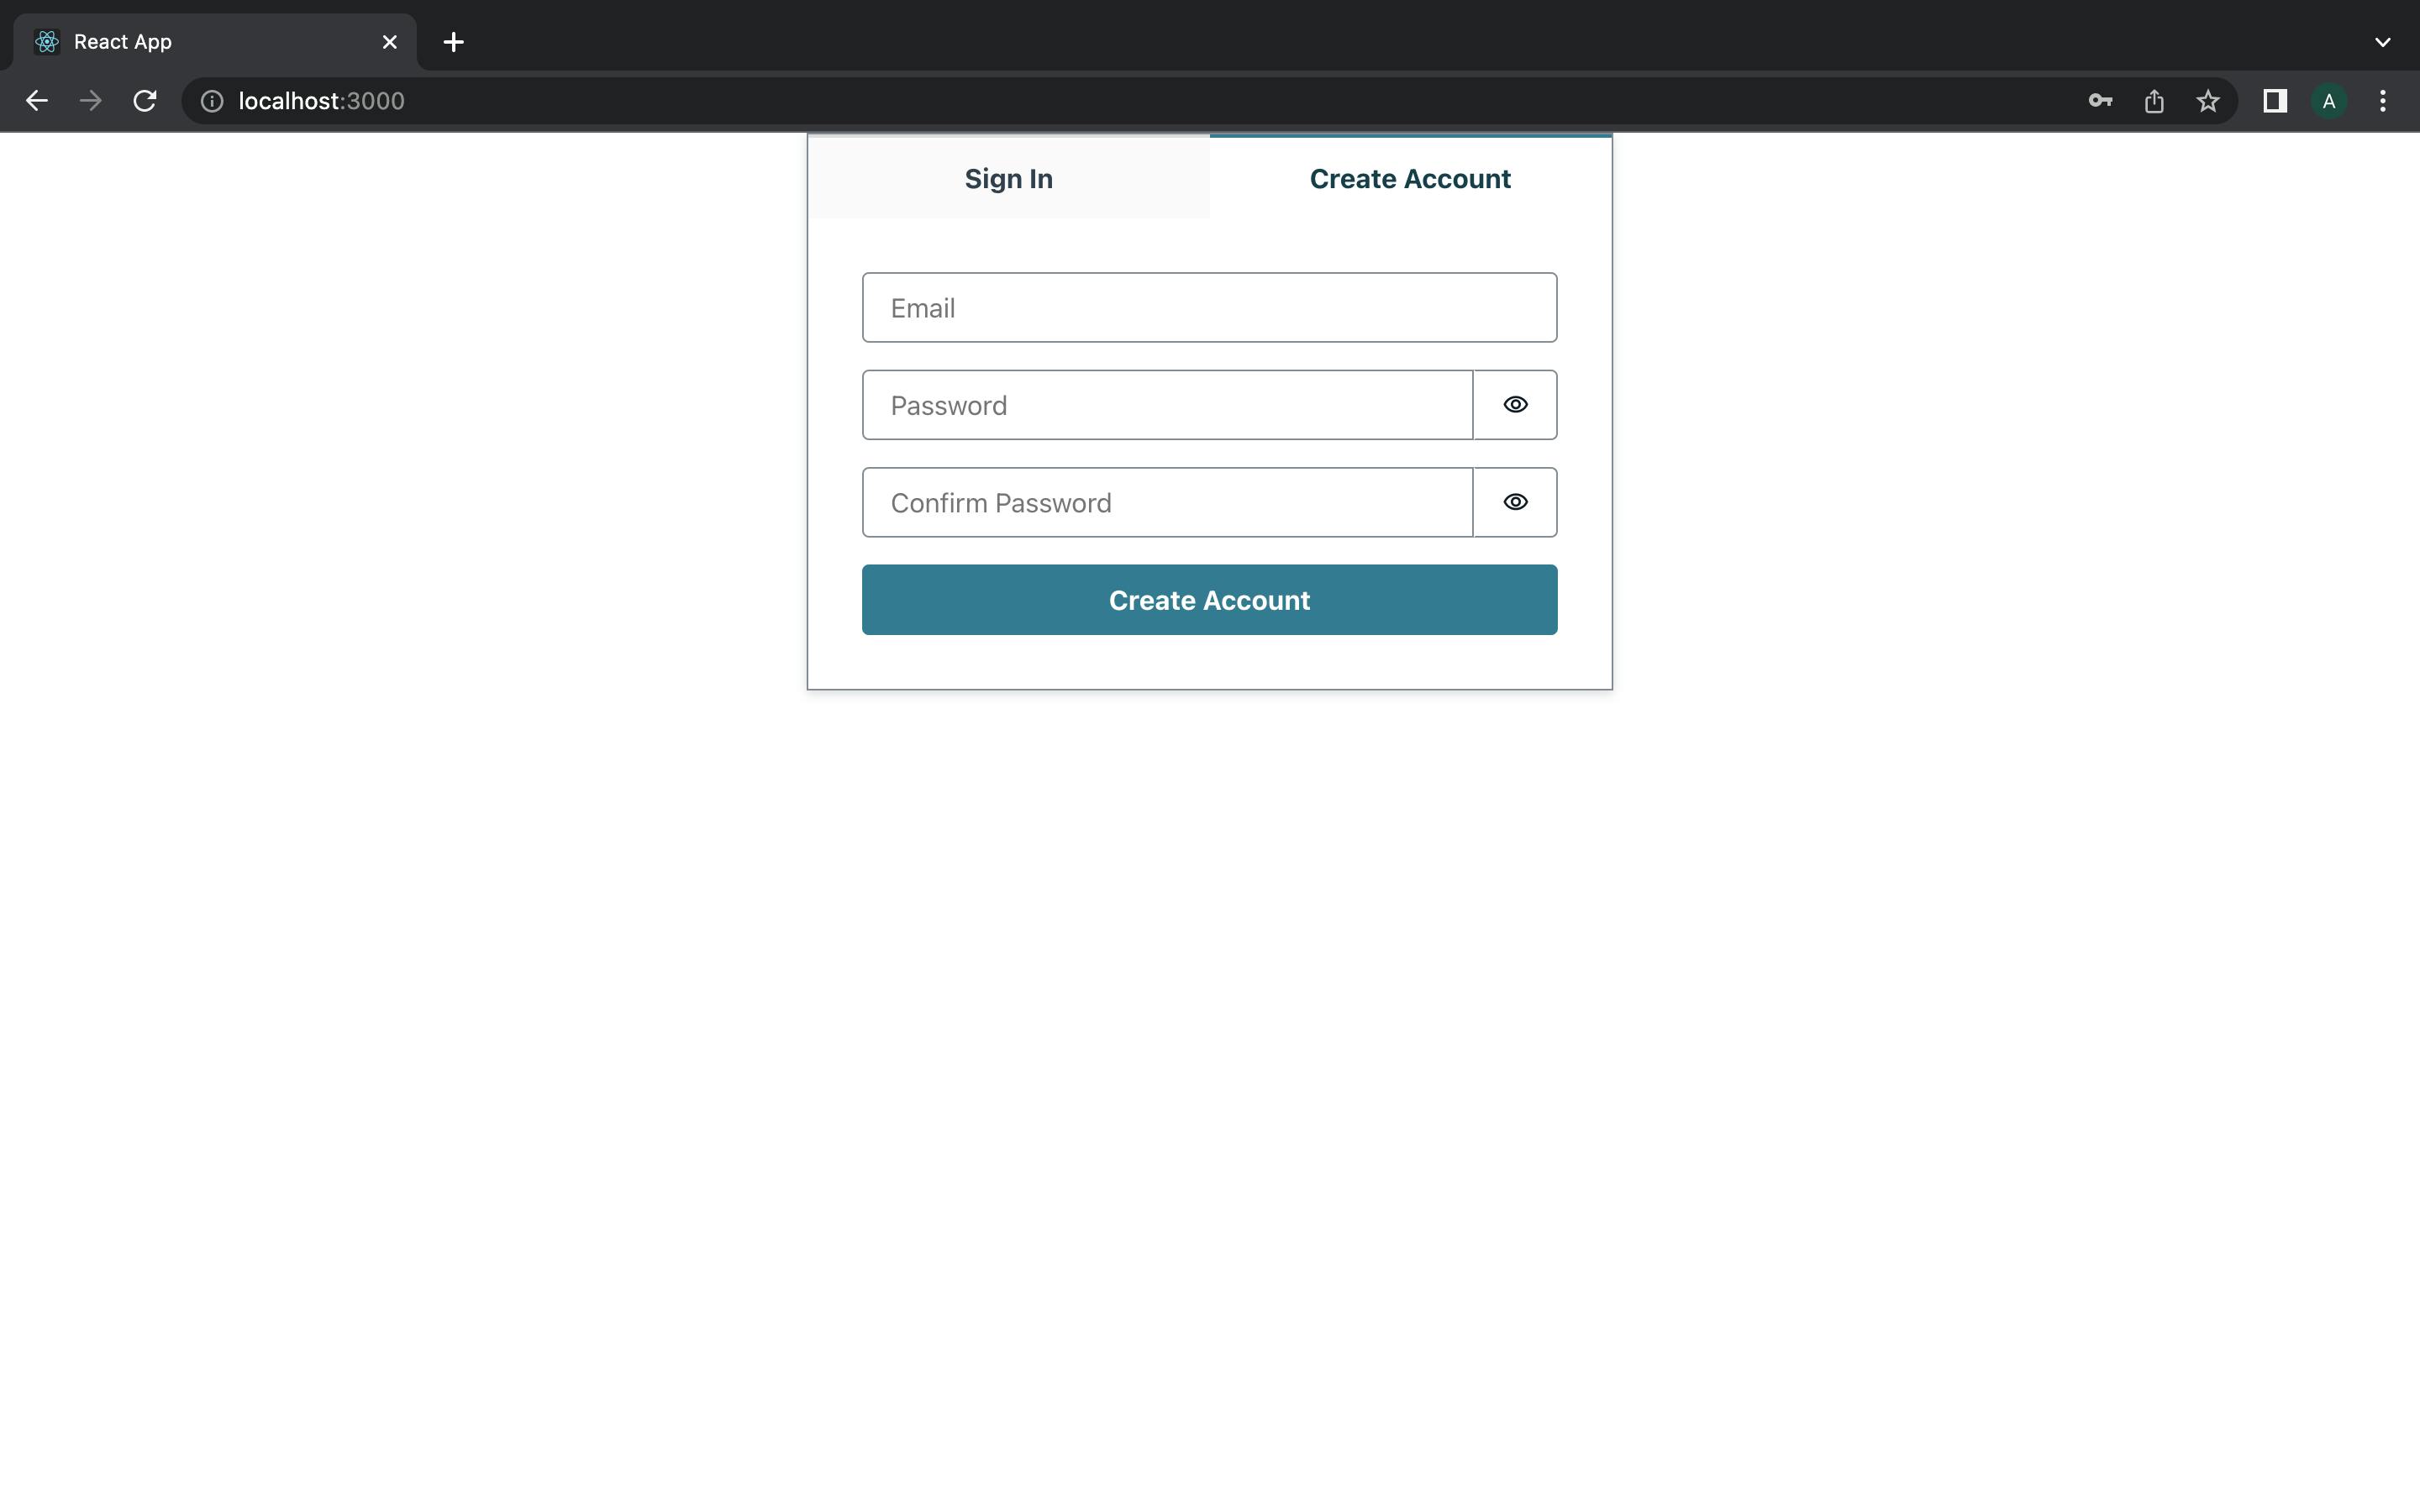 Go to the Create Account Section and enter your information. You will be logged in automatically which a random string which signifies the auto generated username in the Cognito user pool.
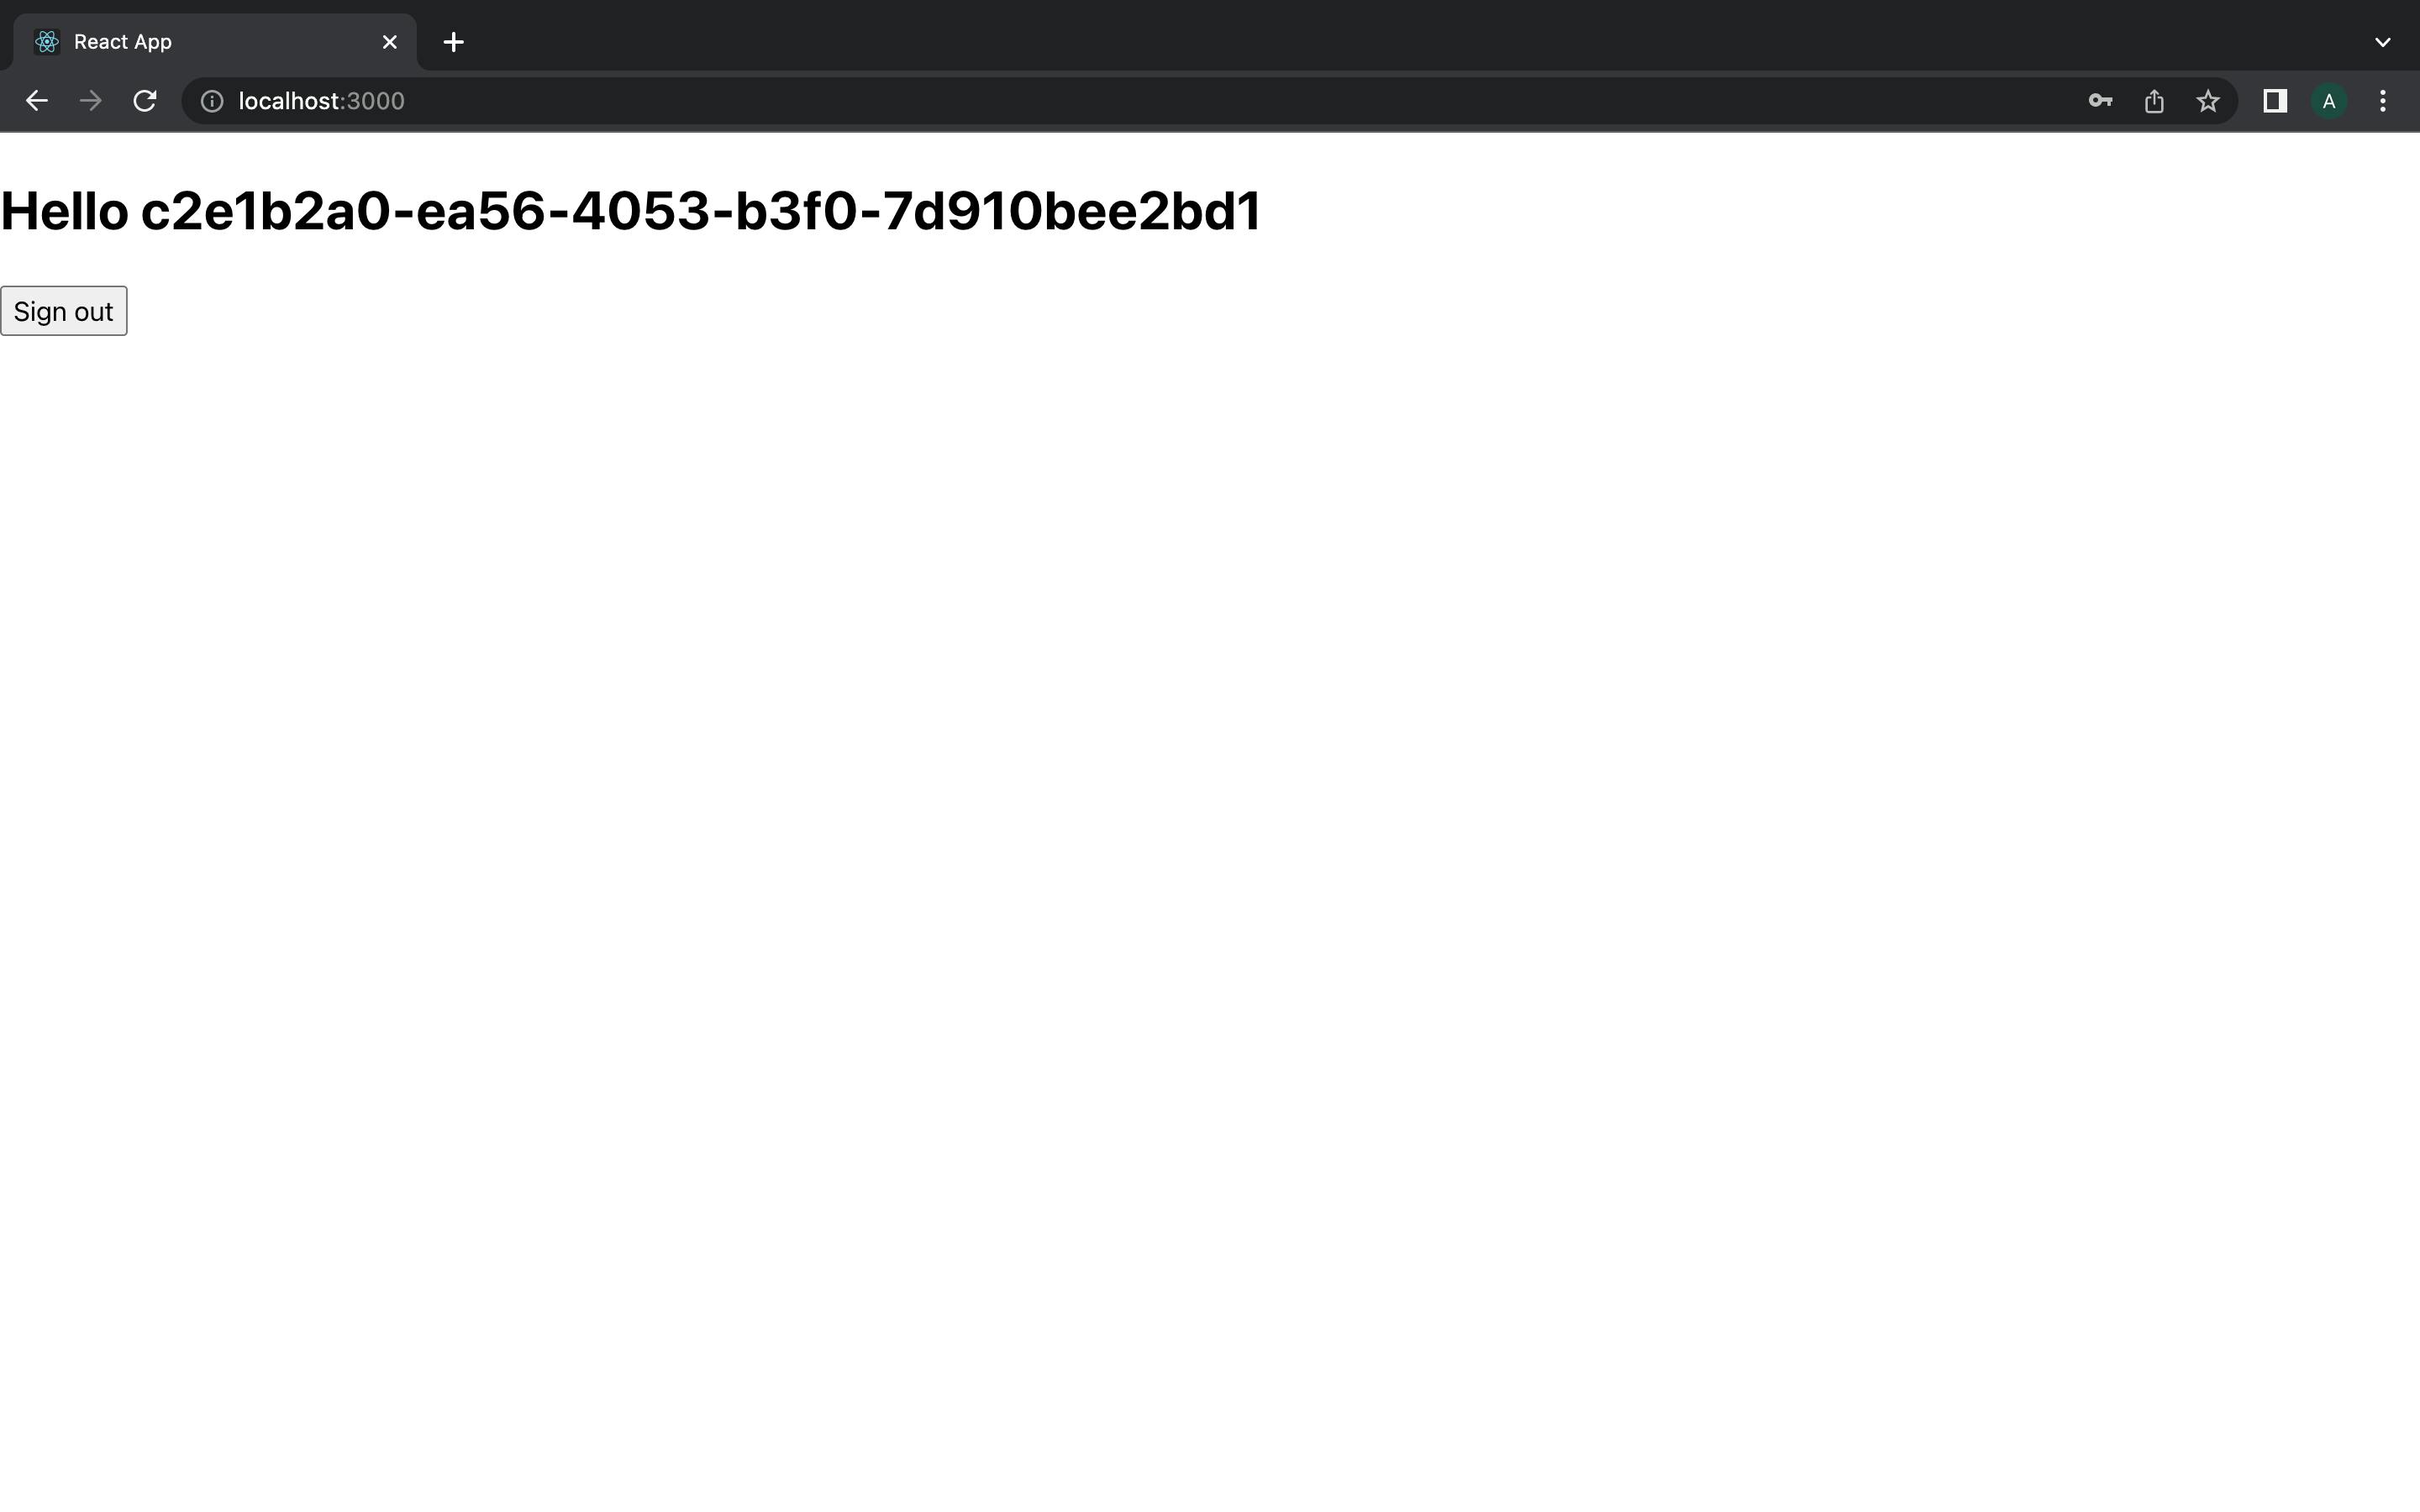 You can log out and log back in and see the power of Amplify.
Ensure to delete all provisioned infrastructure when done so as to not incur AWS charges especially if not under the free tier account. Run
amplify delete to remove all resourced provisioned in the cloud and locally
You can find the project here on my github here
Conclusion
This article just introduces the power of Amplify and how it can help you ship your product faster by abstracting a lot of code you will normally need to have written. Amplify provides way more capabilities such as backend APIs, Data Storage and Analytics. In short, Amplify is a one-stop shop for all the capabilities you need to build your product much faster and scale massively.
You can learn more about Amplify and its capabilities here
- Amplify documentation: docs.amplify.aws
- Amplify CLI documentation: docs.amplify.aws/cli